Using Automator to create new instance Visual Studio for macOS
Automator is powerful tool integrated in macOS that lets the user automate repetitive tasks. You can can create apps, plugins or services by just selecting and composing specific tasks. Some tasks ask for input while others create output.
A simple real world task automator can solve for me is to let me create a service that enables me to open a new instance of Visual Studio from Visual Studio itself.
- Creating the Service
To create this service, open the Automator app (it is in your Programs folder by default) and select New document. You should now see a screen that sort of looks like this one (mine is in Dutch).
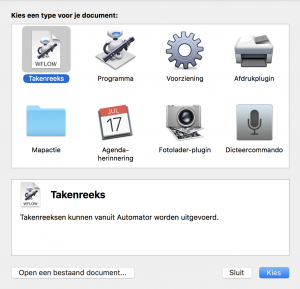 This is where you choose to make an app, plugins or, like this example, a service. Services are little tasks or series of tasks that can be run out of the context menu’s of a program or a set of programs.
Now click on Services ( in Dutch “Voorzieningen”).
- Selecting a task
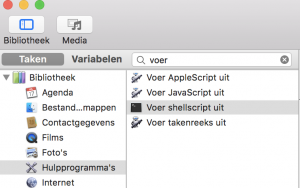
From the Library on the left of the screen drag the shellscript task to the Workflow area on the right side of the screen. When your macOS language is set to English the shellscript task can be found in Developer tasks.
- Selecting the input and Programs
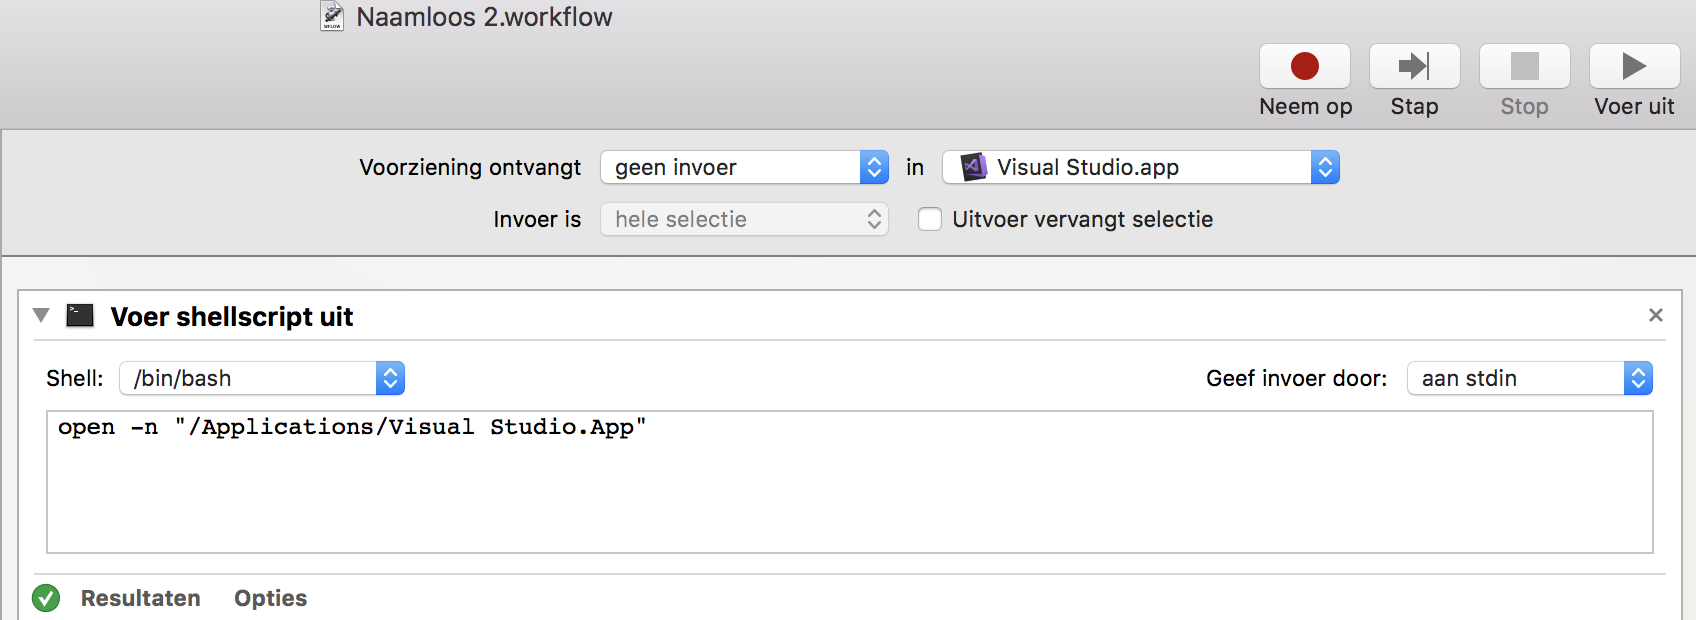
In the section above the Workflow area select that the service does not take any input. Then select the application this service will work with. In my situation I would only like to launch a new instance of Visual Studio when one is already open but of course you van go ahead and select All Programs.
- Script command & make a test run
Next, type the command line command like in the example above (open -n) and the path where to find the app to launch and click Run in upper right corner to test if this script does what is has to do.
Make sure the path is correct and you did not forget the quotes. The quotes are there because the visual studio app name contains a space.
- Saving the Service
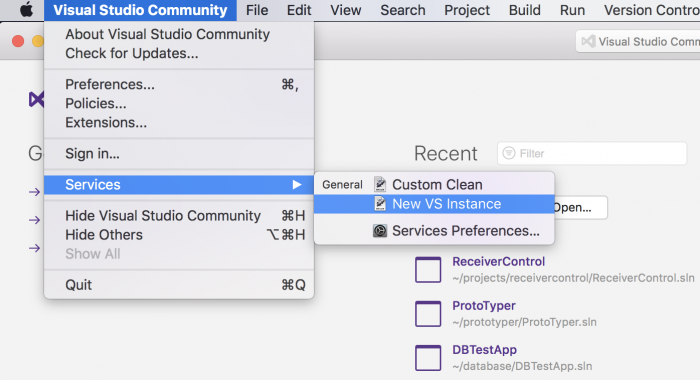
The last step is to save this service. The name you enter when saving this service is what you will see in the menu of Visual Studio. So go ahead and name the service when you save this service. I named this service “New VS Instance”.
When saved, launch a Visual Studio and click on services in the menu. You’re very own brand new service should be there like this :
- Enjoy!
You now have a working service. May you ever decide to remove your custom services, you can locate them in the Library folder of the User Home folder.